免费 AI IDE
今天我们将介绍处理大量数据时非常方便的工具。我不会只告诉您可能在手册中找到的一般信息,而是分享一些我发现的小技巧,例如tqdm与 multiprocessingimap一起使用、并行处理档案、绘制和处理 3D 数据以及如何搜索如果您有点云,则用于对象网格中的类似对象。
那么我们为什么要求助于并行计算呢?如今,如果您处理任何类型的数据,您可能会面临与“大数据”相关的问题。每次我们有不适合 RAM 的数据时,我们都需要一块一块地处理它。幸运的是,现代编程语言允许我们生成在多核处理器上完美运行的多个进程(甚至线程)。(注意:这并不意味着单核处理器不能处理多处理。 这是关于该主题的堆栈溢出线程。)
今天,我们将尝试处理经常发生的计算网格和点云之间距离的 3D 计算机视觉任务。例如,当您需要在所有可用网格中找到定义与给定点云相同的 3D 对象的网格时,您可能会遇到此问题。
我们的数据由.obj存储在.7z存档中的文件组成,这在存储效率方面非常出色。但是当我们需要访问它的确切部分时,我们应该努力。在这里,我定义了包装 7-zip 存档并提供底层数据接口的类。
from io import BytesIO
import py7zlib

class MeshesArchive(object):
    def __init__(self, archive_path):
        fp = open(archive_path, 'rb')
        self.archive = py7zlib.Archive7z(fp)
        self.archive_path = archive_path
        self.names_list = self.archive.getnames()
        self.cur_id = 0

    def __len__(self):
        return len(self.names_list)

    def get(self, name):
        bytes_io = BytesIO(self.archive.getmember(name).read())
        return bytes_io

    def __getitem__(self, idx):
        return self.get(self.names[idx])

    def __iter__(self):
        return self

    def __next__(self):
      if self.cur_id >= len(self.names_list):
          raise StopIteration
      name = self.names_list[self.cur_id]
      self.cur_id += 1
      return self.get(name)
这个类几乎不依赖py7zlib包,它允许我们在每次调用get方法时解压缩数据,并为我们提供存档中的文件数。我们还定义了__iter__这将帮助我们map像在可迭代对象上一样在该对象上启动多处理。
您可能知道,可以创建一个 Python 类,从中可以实例化可迭代对象。该类应满足以下条件:覆盖__getitem__返回self和__next__返回后续元素。我们绝对遵循这个规则。
上面的定义为我们提供了遍历存档的可能性,但 它是否允许我们 对内容进行并行随机访问?这是一个有趣的问题,我在网上没有找到答案,但我们可以研究源代码py7zlib并尝试自己回答。
在这里,我提供了来自pylzma的代码片段:
class Archive7z(Base):
  def __init__(self, file, password=None):
    # ...
    self.files = {}
    # ...
    for info in files.files:
      # create an instance of ArchiveFile that knows location on disk
      file = ArchiveFile(info, pos, src_pos, folder, self, maxsize=maxsize)
      # ...
      self.files.append(file)
    # ...
    self.files_map.update([(x.filename, x) for x in self.files])

  # method that returns an ArchiveFile from files_map dictionary
  def getmember(self, name):
      if isinstance(name, (int, long)):
          try:
              return self.files[name]
          except IndexError:
              return None

      return self.files_map.get(name, None)


class Archive7z(Base):
  def read(self):
    # ...
    for level, coder in enumerate(self._folder.coders):
      # ...
      # get the decoder and decode the underlying data
      data = getattr(self, decoder)(coder, data, level, num_coders)

    return data
在代码中,您可以看到在从存档中读取下一个对象期间调用的方法。我相信从上面可以清楚地看出,只要同时多次读取存档,就没有理由阻止存档。
接下来,我们快速介绍一下什么是网格和点云。
首先,网格是顶点、边和面的集合。顶点由空间中的(x,y,z) 坐标定义并分配有唯一编号。边和面是相应的点对和三元组的组,并用提到的唯一点 id 定义。通常,当我们谈论“网格”时,我们指的是“三角形网格”,即由三角形组成的表面。使用trimesh库在 Python 中使用网格要容易得多。例如,它提供了.obj在内存中加载文件的接口。要在jupyter notebook一个3D 对象中显示和交互,可以使用k3d库。
所以,用下面的代码片段我回答这个问题:“你怎么绘制trimesh的对象jupyter有k3d?”
import trimesh
import k3d

with open("./data/meshes/stanford-bunny.obj") as f:
    bunny_mesh = trimesh.load(f, 'obj')

plot = k3d.plot()
mesh = k3d.mesh(bunny_mesh.vertices, bunny_mesh.faces)
plot += mesh
plot.display()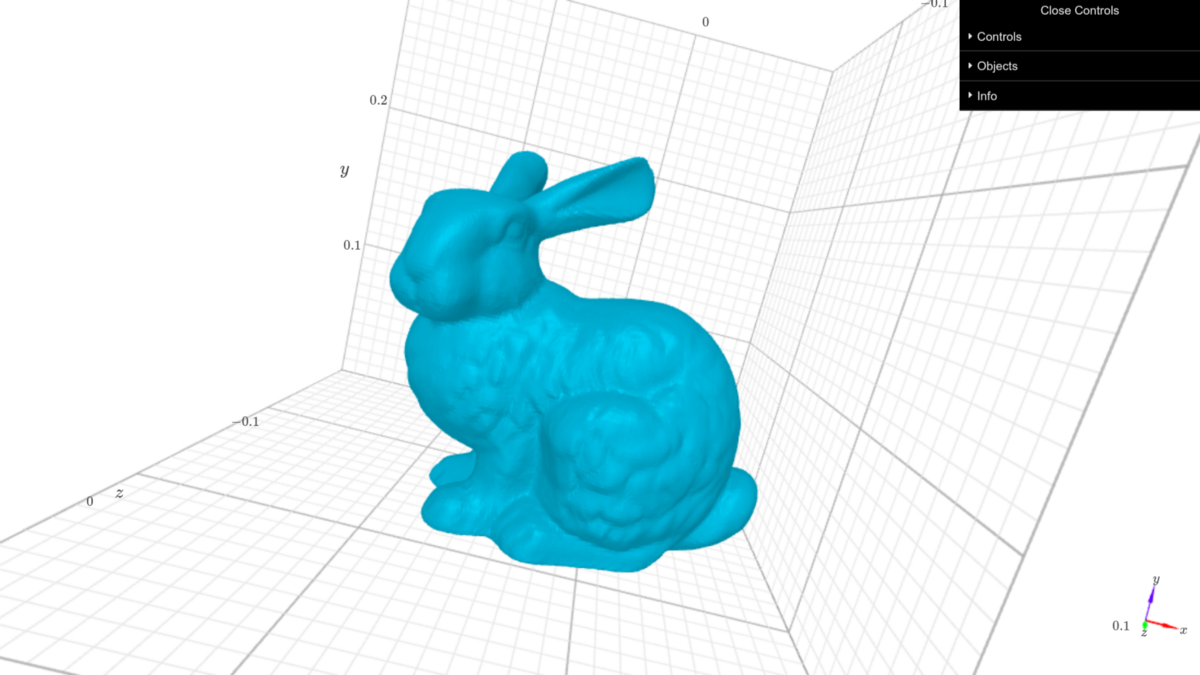
k3d 显示的斯坦福兔子网格
其次,点云是表示空间中对象的 3D 点数组。许多 3D 扫描仪生成点云作为扫描对象的表示。出于演示目的,我们可以读取相同的网格并将其顶点显示为点云。
import trimesh
import k3d

with open("./data/meshes/stanford-bunny.obj") as f:
    bunny_mesh = trimesh.load(f, 'obj')

plot = k3d.plot()
cloud = k3d.points(bunny_mesh.vertices, point_size=0.0001, shader="flat")
plot += cloud
plot.display()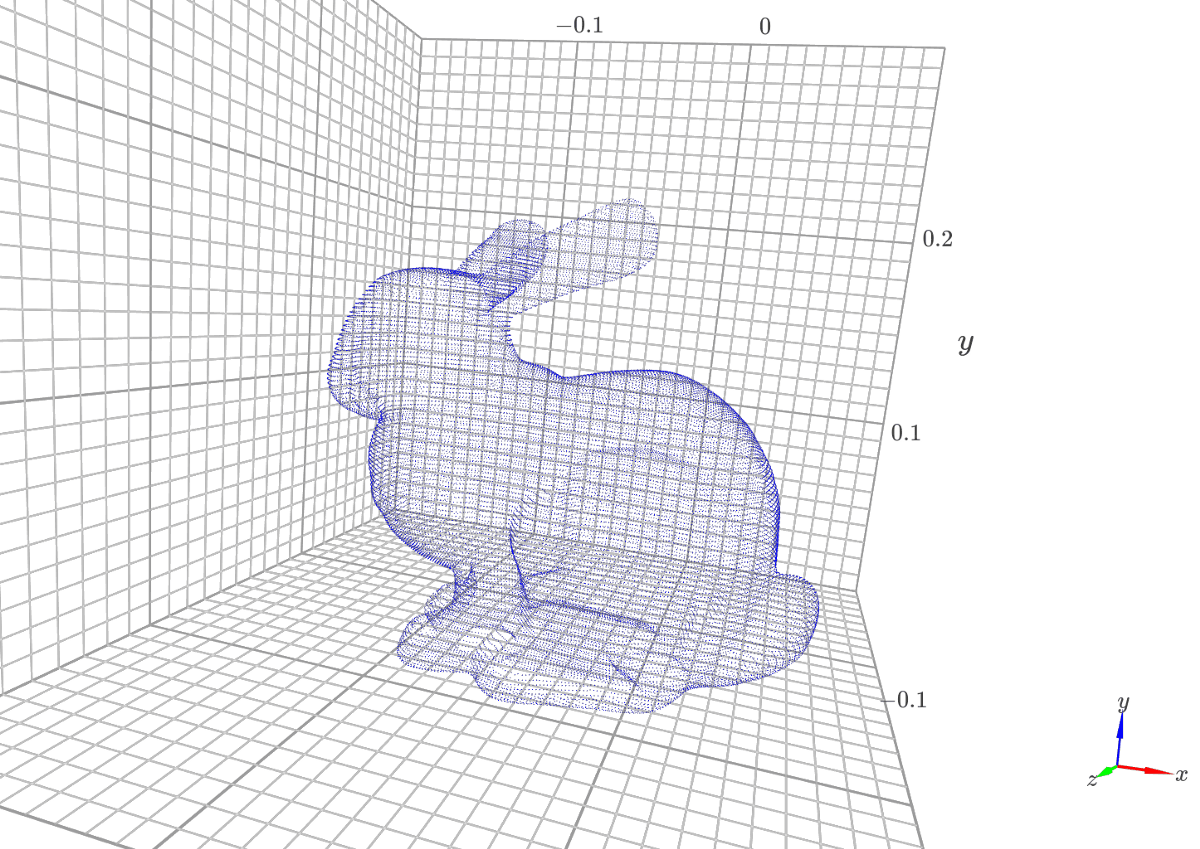
k3d绘制的
点云
如上所述,3D 扫描仪为我们提供了一个点云。假设我们有一个网格数据库,我们想在我们的数据库中找到一个与扫描对象对齐的网格,也就是点云。
为了解决这个问题,我们可以提出一种简单的方法。我们将从我们的档案中搜索给定点云的点与每个网格之间的最大距离。
如果1e-4某些网格的距离更小,我们将认为该网格与点云对齐。
最后,我们来到了多处理部分。请记住,我们的存档中有大量文件可能无法放在一起放在内存中,因为我们更喜欢并行处理它们。
为了实现这一点,我们将使用 multiprocessing Pool,它使用map或imap/imap_unordered方法处理用户定义函数的多次调用。
map和imap影响我们的区别在于,map在将其发送到工作进程之前将其转换为列表。如果存档太大而无法写入 RAM,则不应将其解压缩到 Python 列表中。换句话说,两者的执行速度是相似的。
[加载网格:pool.map w/o manager] 4 个进程池耗时:37.213207403818764 秒
[加载网格:pool.imap_unordered w/o manager] 4 个进程池耗时:37.219303369522095 秒
在上面,您可以看到从适合内存的网格档案中简单读取的结果。
更进一步imap:让我们讨论如何实现找到靠近点云的网格的目标。这是数据。我们有来自斯坦福模型的 5 个不同的网格。我们将通过向斯坦福兔子网格的顶点添加噪声来模拟 3D 扫描。
import numpy as np
from numpy.random import default_rng

def normalize_pc(points):
    points = points - points.mean(axis=0)[None, :]
    dists = np.linalg.norm(points, axis=1)
    scaled_points = points / dists.max()
    return scaled_points


def load_bunny_pc(bunny_path):
    STD = 1e-3
    with open(bunny_path) as f:
        bunny_mesh = load_mesh(f)
    # normalize point cloud
    scaled_bunny = normalize_pc(bunny_mesh.vertices)
    # add some noise to point cloud
    rng = default_rng()
    noise = rng.normal(0.0, STD, scaled_bunny.shape)
    distorted_bunny = scaled_bunny + noise
    return distorted_bunny
当然,我们之前在下面将点云和网格顶点归一化,以在 3D 立方体中缩放它们。
要计算点云和网格之间的距离,我们将使用igl。为了完成,我们需要编写一个函数来调用每个进程及其依赖项。让我们用以下代码段来总结。
import itertools
import time
import numpy as np
from numpy.random import default_rng
import trimesh
import igl
from tqdm import tqdm
from multiprocessing import Pool
def load_mesh(obj_file):
    mesh = trimesh.load(obj_file, 'obj')
    return mesh
def get_max_dist(base_mesh, point_cloud):
    distance_sq, mesh_face_indexes, _ = igl.point_mesh_squared_distance(
        point_cloud,
        base_mesh.vertices,
        base_mesh.faces
    )
    return distance_sq.max()
def load_mesh_get_distance(args):
    obj_file, point_cloud = args[0], args[1]
    mesh = load_mesh(obj_file)
    mesh.vertices = normalize_pc(mesh.vertices)
    max_dist = get_max_dist(mesh, point_cloud)
    return max_dist
def read_meshes_get_distances_pool_imap(archive_path, point_cloud, num_proc, num_iterations):
    # do the meshes processing within a pool
    elapsed_time = []
    for _ in range(num_iterations):
        archive = MeshesArchive(archive_path)
        pool = Pool(num_proc)
        start = time.time()
        result = list(tqdm(pool.imap(
            load_mesh_get_distance,
            zip(archive, itertools.repeat(point_cloud)),
        ), total=len(archive)))
        pool.close()
        pool.join()
        end = time.time()
        elapsed_time.append(end - start)
    print(f'[Process meshes: pool.imap] Pool of {num_proc} processes elapsed time: {np.array(elapsed_time).mean()} sec')
    for name, dist in zip(archive.names_list, result):
        print(f"{name} {dist}")
    return result
 if __name__ == "__main__":
    bunny_path = "./data/meshes/stanford-bunny.obj"
    archive_path = "./data/meshes.7z"
    num_proc = 4
    num_iterations = 3
    point_cloud = load_bunny_pc(bunny_path)
    read_meshes_get_distances_pool_no_manager_imap(archive_path, point_cloud, num_proc, num_iterations)
这read_meshes_get_distances_pool_imap是一个中心函数,其中完成以下操作:
- MeshesArchive并multiprocessing.Pool初始化
- tqdm 用于观察池进度,并手动完成整个池的分析
- 执行结果的输出
请注意我们如何传递参数以imap从archive和point_cloud使用zip(archive, itertools.repeat(point_cloud)). 这允许我们将点云数组粘贴到存档的每个条目上,避免转换archive为列表。
执行结果如下:
100%|########################################### #####################| 5/5 [00:00<00:00, 5.14it/s]
100%|########################### ####################################| 5/5 [00:00<00:00, 5.08it/s]
100%|########################### ####################################| 5/5 [00:00 <0时,5.18it /秒]
[方法网眼:pool.imap W / O管理器] 4个过程的池经过时间:1.0080536206563313秒
armadillo.obj 0.16176825266293382
beast.obj 0.28608649819198073
cow.obj 0.41653845909820164
现货.obj 0.22739556571296735
stanford-bunny.obj 2.3699851136074263e-05
我们可以注意到斯坦福兔子是最接近给定点云的网格。还可以看出,我们没有使用大量数据,但我们已经证明,即使我们在存档中有大量网格,该解决方案也能奏效。
多处理使数据科学家不仅在 3D 计算机视觉中而且在机器学习的其他领域中都取得了出色的表现。理解并行执行比在循环内执行快得多是非常重要的。差异变得显着,尤其是在正确编写算法时。大量数据揭示了如果没有关于如何使用有限资源的创造性方法就无法解决的问题。幸运的是,Python 语言及其广泛的库集帮助我们数据科学家解决了这些问题。